
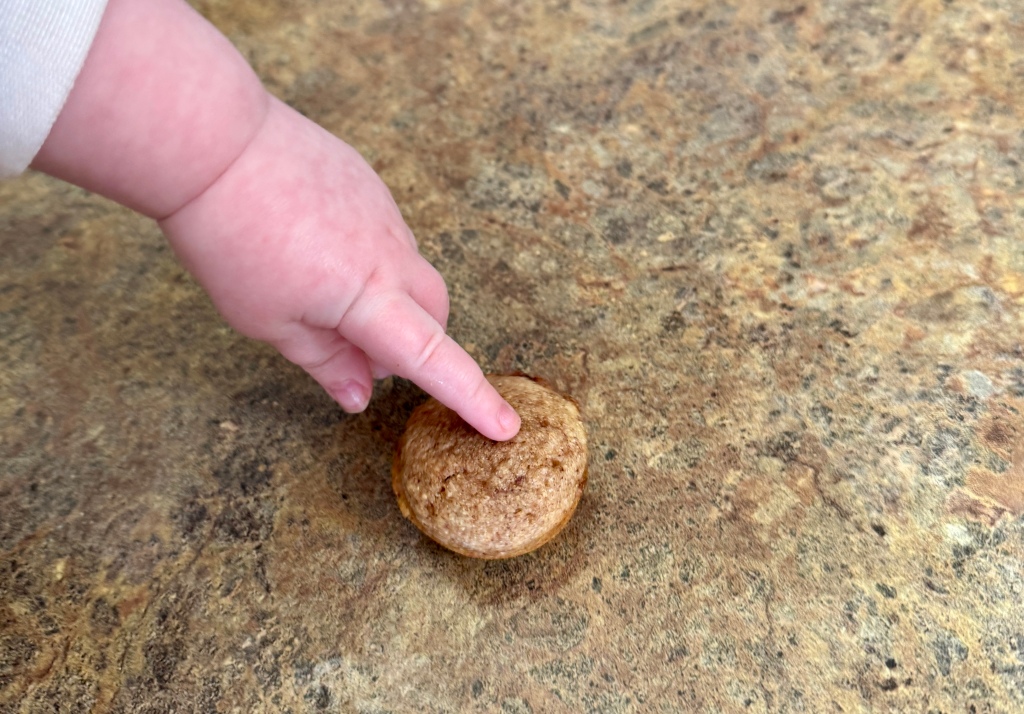
Looking for the best bread recipe? This one has been my favorite. My kids want fluffy soft bread, a soft crust, and sturdy enough to handle butter or being made into “uncrustables”. (I know, why do they care about the crust if they just want it cut off? Because my husband is one of the kids and actually eats the crust!)
Anyway, I finally cracked the recipe for a soft loaf from edge to edge and I’m so excited to share it! This is made in my Kitchen Aid and the mixer does not get hot or struggle, even with a double loaf, because I do things a bit differently. Since this is so different from other Fresh Milled Flour recipes, I want to encourage you to *trust the process* and follow the directions even if they seem to not be working.
This recipe can also be made into dinner rolls, I’ll include those instructions too.
Ingredients
1 batch of 8 large rolls or 1 standard loaf
- 60 g khorasan
- 60 g hard red
- 125 g hard white
- 170 g lukewarm milk
- 30 g real maple syrup
- ½ T sunflower lecithin (~5 g)
- 30 g melted tallow (or butter, lard, avocado oil, etc)
- 2 T vital wheat gluten (~22 g)
- 1 t salt
- ½ T active dry yeast
- ~80 g water (this will vary!)
1 batch of 16 large rolls, 1 large loaf, or 2 standard loafs
- 120 g khorasan
- 120 g hard red
- 250 g hard white
- 340 g lukewarm milk
- 60 g real maple syrup (or sugar or honey)
- 1 T sunflower lecithin (~10 g)
- 60 g melted tallow (or butter, lard, avocado oil, etc)
- 4 T vital wheat gluten (~50 g)
- 2 t salt
- 1 T active dry yeast
- ~160 g water (this will vary!)
Instructions
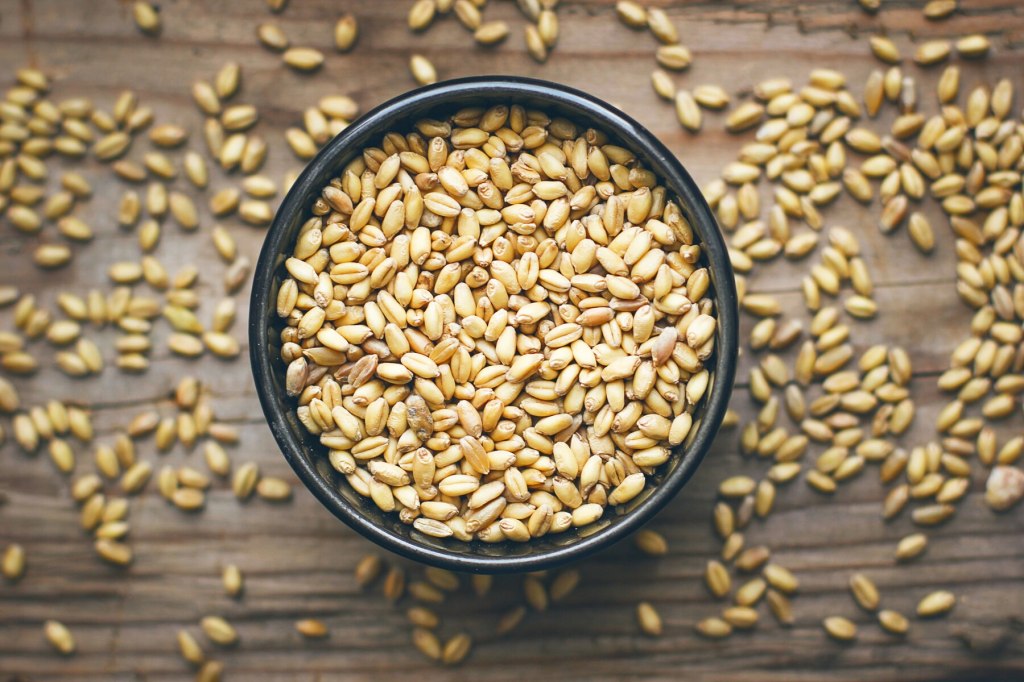
- Mill grains finely
- Mix in lukewarm milk until all the flour is wet (I recommend using a Danish dough whisk for this step)
The dough will be very thick and you’ll have to work it to get all the flour wet. - Cover and let sit at least 15 min, but I have gone as long as 4 hours without issue (can probably go longer if needed)
The dough will look wetter when you come back. If you’re only doing a 15 min rest you don’t need to cover, but we don’t want it to dry out. - Put into your mixer bowl (I use a Kitchen Aid with the spiral dough hook)
- Knead at a low speed, and add, in order, being sure to keep the mixer running in between ingredients:
- the maple syrup – dough will not want to incorporate the syrup, keep going
- the sunflower lecithin
- melted tallow – dough might get sloppy here, keep going
- vital wheat gluten – dough will get very firm and may struggle to mix evenly, keep going
- salt
- yeast
- Scrape the dough down into the bottom of the bowl and then turn mixer on for step 7.
- The dough will be firm and may not want to come off the hook at this point. It seems counter-intuitive, but now we’re going to add the extra moisture that fresh milled flour wants. Add the water in a little at a time while the mixer is running until the dough seems to fall apart. It will fall off the hook and cling to the sides.
- Keep mixing, not going over a level 2, until the dough forms back up. You may have to scrape the sides down a bit so that it is kneading uniformly.
- Continue kneading after the dough has formed back into a ball until it looks smooth, elastic-y, and supple to the touch. It might feel a little sticky at this point but will want to cling to itself and not your fingers.
- Pull the dough out and confirm the texture, then place into a fresh bowl that has been covered lightly in oil (olive, avocado, or pam can work great here). Cover and let rise until the dough has doubled.
- I have recently purchased a warming mat that allows me to set the temperature, I like to do my first proof at about 75* F. My house is routinely in the low 60s, so without the warming mat proofing was a struggle!
- One the dough has doubled, dump it out onto your work surface. I have found that this dough almost never sticks, but if it seems a tad sticky, I recommend oiling your work surface and hands instead of using flour.
- To shape
- Sandwich loaf – flatten the dough into a large rectangle about the width of your pan and about 1/2″ thick. Tightly roll the dough to create tension across the top. Pinch the edges together and work the log with your hands to continue to build tension. Place into the pan (I recommend oiling or using parchment paper to prevent sticking).
- Dinner rolls – divide into equal pieces. To make a roll, flatten the dough into a large disc, and then fold the edges in to the middle until tension builds across the top surface of the dough. Gently move the ball across the work surface to seal your seam and build additional tension. Remember when placing the rolls into the pan that they will need to double in size, so be sure to space accordingly.
- Cover with cling wrap so that the dough does not dry out, allow to rise until doubled in size. You can score this bread if you would like, but it is not necessary.
- Bake at 350* until internal temp is 185* F. The bread should rise the remaining 5* while resting. The loafs are usually 20-40 min depending on size and pan, and the rolls are 15-30 min depending on pan.
- If using cast iron, be sure to pull your loaf out a bit early or remove from the pan immediately because the cast iron retains a lot of heat and will cook and dry out your bread if left in contact with the hot pan.
- Allow to rest at least 5 min. If you don’t like a potentially gummy sandwich slice, let cool completely before slicing. If you like a softer and buttery crust, rub butter over the outside as soon as you’ve removed it from the oven.


Leave a comment